X
Electric hoists represent their own machinery, strength, and toughness, while the stage is elegant, flowing, and soft, with conflicts and collisions between the two.
How to use stage electric hoists or stage chain hoists to lift stage scaffolding?
Category : V7 Stage Electric Series
Get a Quote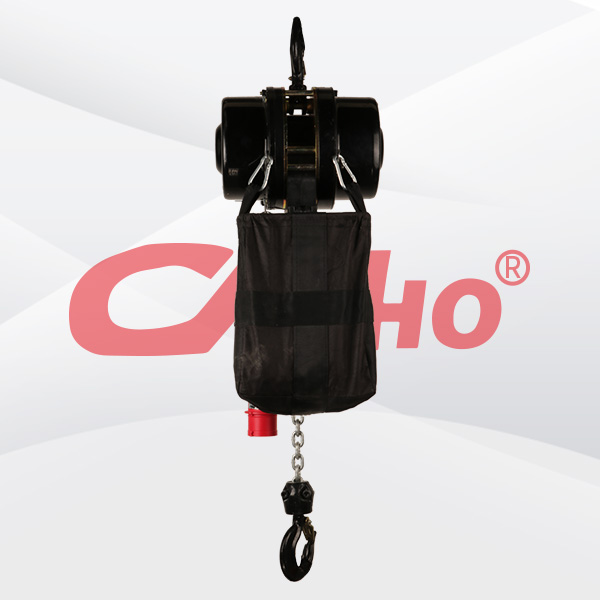
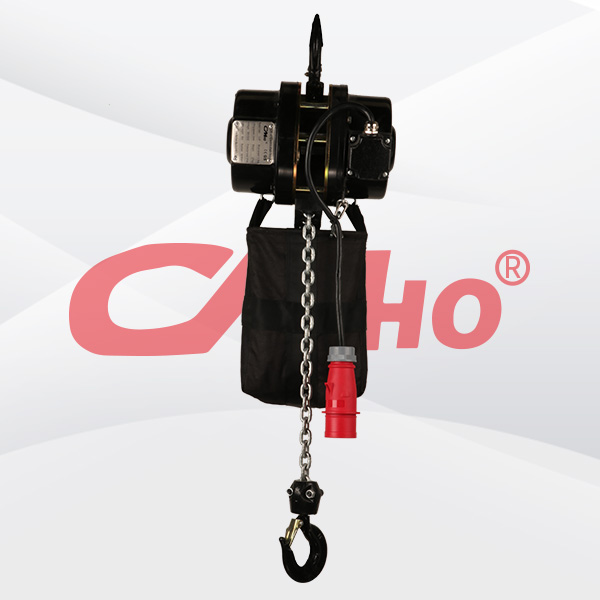
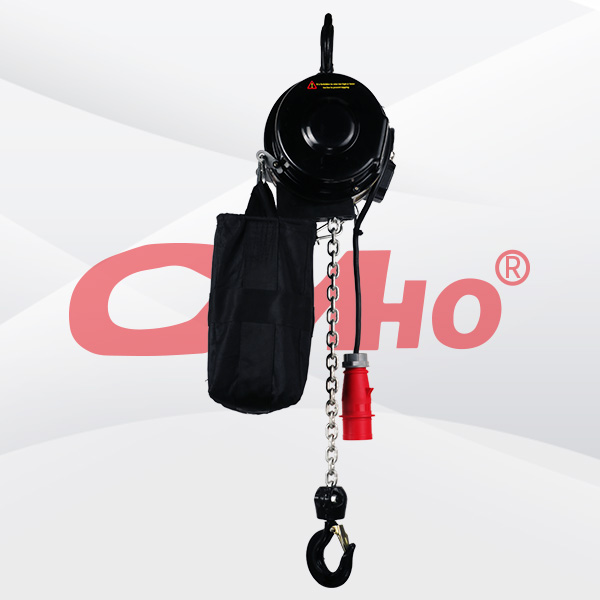
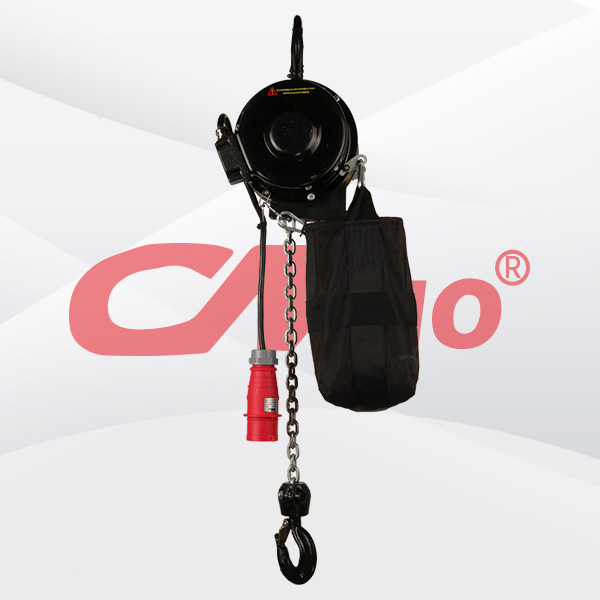
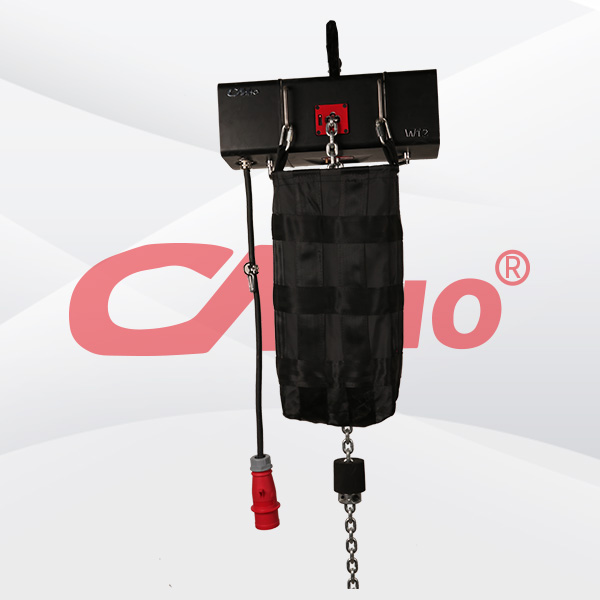
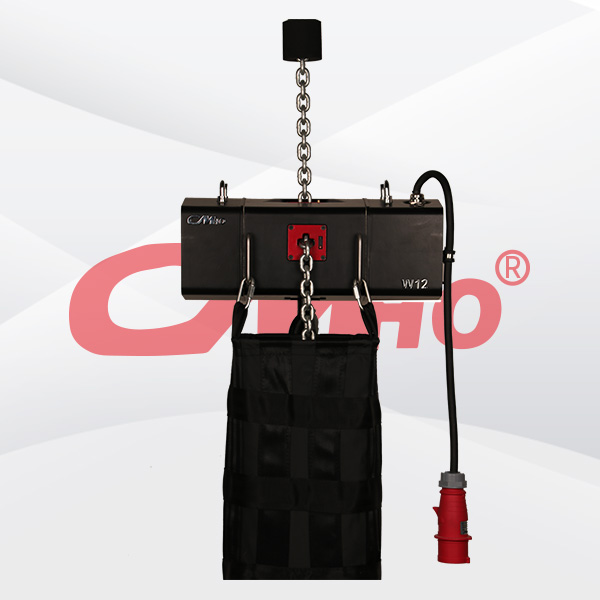
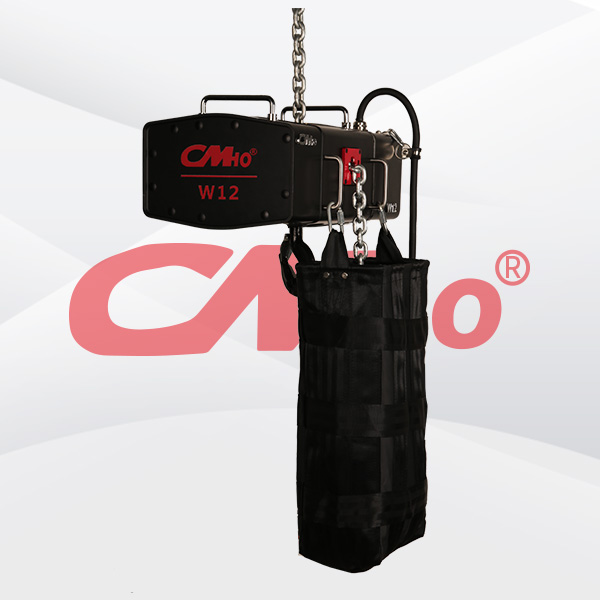
Product Details
How to use stage electric hoists or stage chain hoists to lift stage scaffolding?
1: First, install and fix all peripheral racks firmly.
When installing the electric hoist, first hang it vertically, fix the upper and lower hooks on the reserved positions of the frame, and hang it downwards with the lifting chain below.
3: After hanging them one by one, it is necessary to check whether the electric hoist is on the same plane and kept parallel.
4: Connect the power and ground wires, and then perform a trial lifting operation to check if all electric hoists are working properly.
How to install the stage electric hoist on the studio track?
The lifting of electric hoists can be carried out using a crane according to the actual situation on the construction site, or using a pulley block with a winch for lifting; When hoisting, protective measures must be taken to tie the rope to prevent damage to the equipment. According to the weight of the equipment itself, choose the rope lifting tool for hoisting.
Gap adjustment
The clearance between the inner side of the walking wheel rim of the electric hoist and the flange of the I-beam rail is ensured to be between 3-5mm, which is achieved through gasket adjustment. This is crucial and must be achieved.
Adjustment of motor spindle displacement
The best braking effect is achieved when the axial displacement of the main shaft of a conical rotor motor is generally 1.5mm. If the electric hoist slides too much under rated load, it needs to be adjusted. The adjustment method is as follows: remove the tail cover. Unscrew the four screws that fix the adjustment nut, use a wrench to turn the adjustment nut clockwise to the limit position, then turn it counterclockwise one more turn, and then install the fixing screw.
RELATED PRODUCTS .
Stage chain hoist is a lifting device used in stage venues, which is commonly used in concerts and plays. What are the inspection items that need to be carried out on stage chain hoists before each as
The stage chain hoist plays a very important role in the stage construction process, but which operations are not allowed during the use of the chain hoist.

Firstly, after using the electric hoist, conduct an inspection to check for any damage to the components and whether the motor is operating normally;
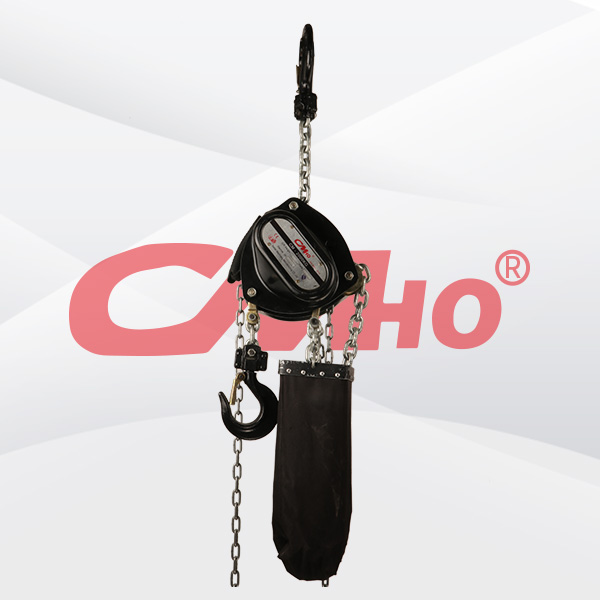
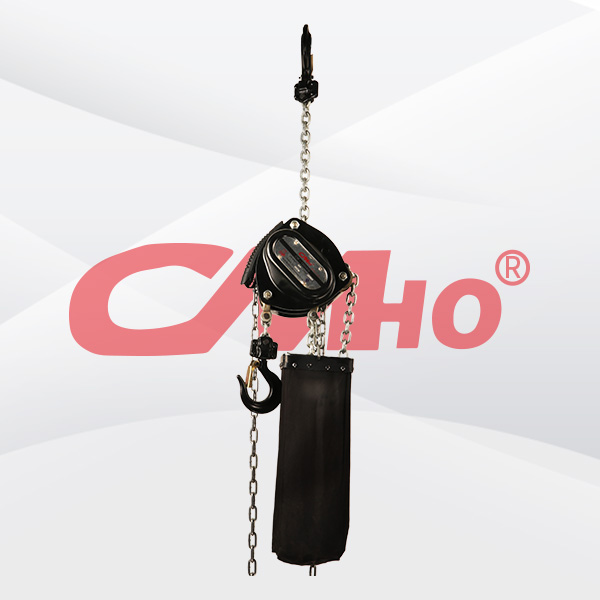
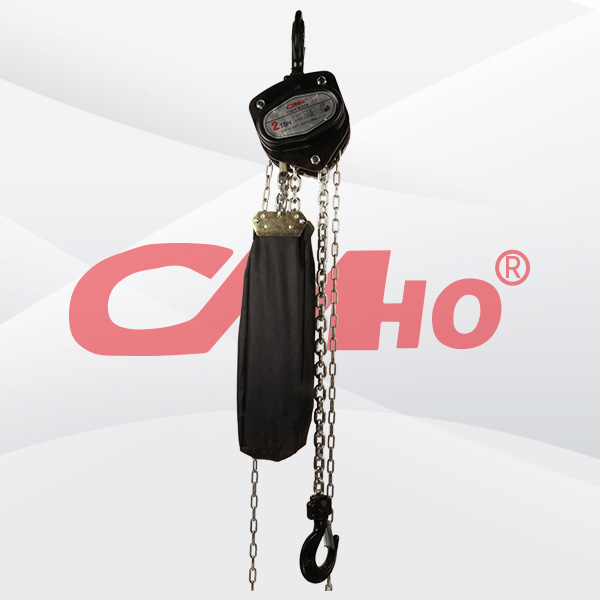
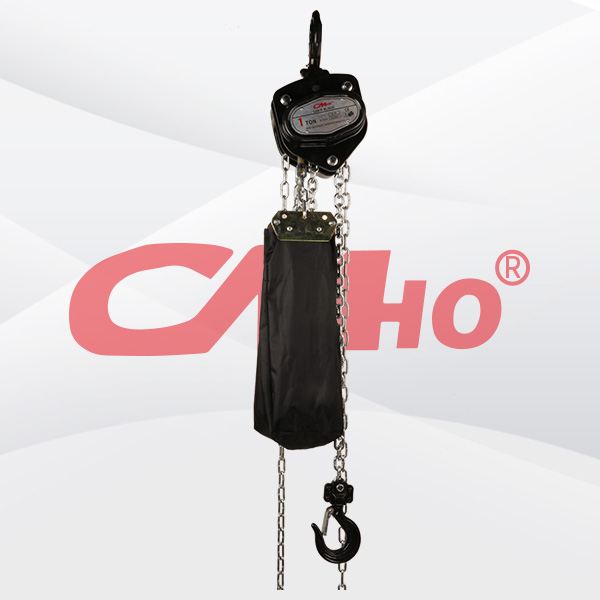
Firstly, most stage plays are performed at night, and gourds are mostly black, which is not easy for people to notice and can maintain the mystery of the stage, attracting the attention of viewers.

2023-12-19
admin
0
Why should the stage hand hoist work environment b...
The stage hoist often operates in outdoor environments and inevitably comes into contact with a large amount of dust.

2023-12-18
admin
0
Do not use stage gourds in violation of regulation...
Stage gourds are divided into two types: stage electric gourds and stage chain gourds, mainly used for stage construction, prop lifting

2023-12-18
admin
0
The "Invisible Cloak" of Stage Electric Hull
The stage electric hoist is a commonly used lifting tool when building a stage. It has a compact appearance and is easy to use

2023-12-15
admin
0
Electric hoists on stage can enhance the presentat...
When we set up the stage, our goal is to present a more dazzling stage to the audience. In addition to the lighting and sound equipment on stage